Blender Tutorial: Loop Cut and Slide Tool
The **Loop Cut and Slide** tool is one of the most fundamental and powerful tools for modeling in Blender. It allows you to add new edge loops to your mesh, which is crucial for adding detail, controlling deformation, and creating more complex shapes.
What is a Loop Cut?
A loop cut adds a new "loop" of edges around the selected faces of your mesh. This is typically used on quadrilateral (four-sided) faces. The "slide" part refers to your ability to move this newly created loop along the existing geometry.
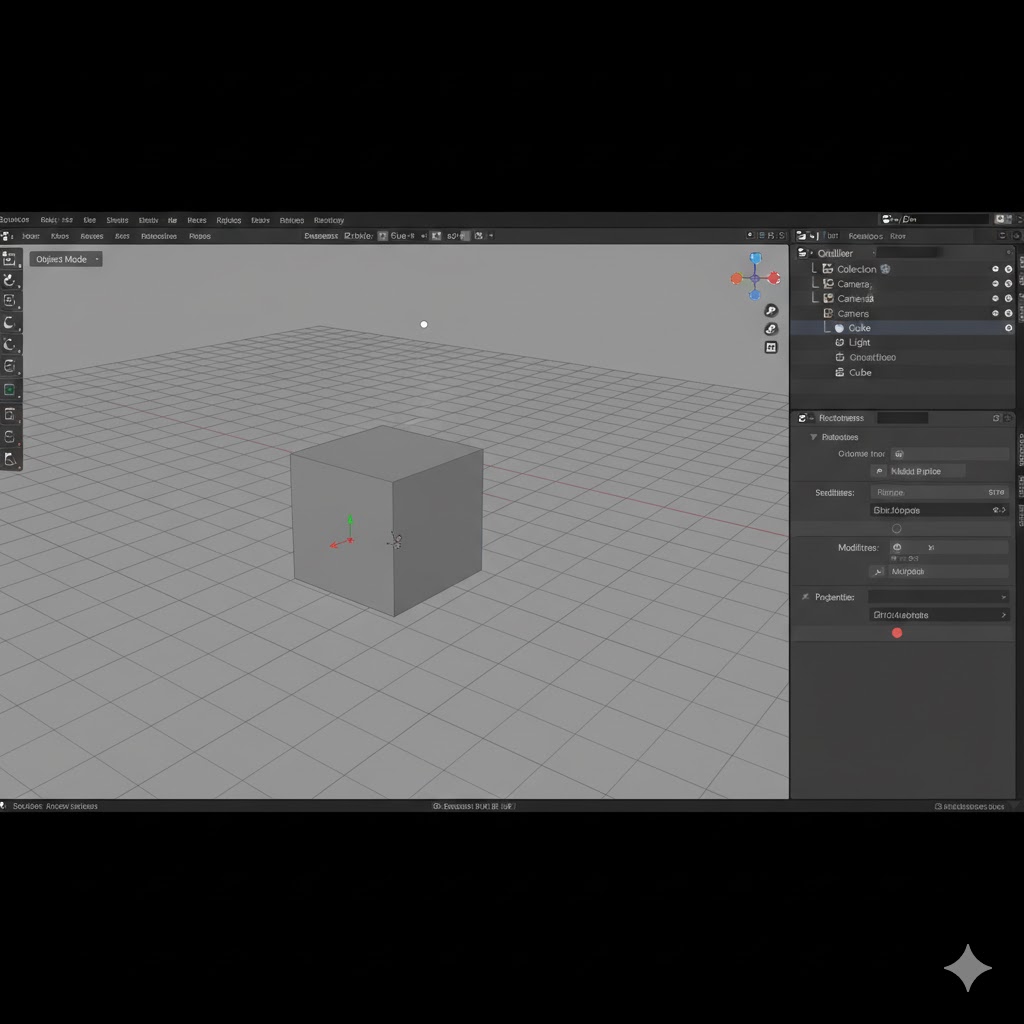
Step 1: Start with a Basic Mesh
First, open Blender and add a new mesh, such as a Cube (Shift + A > Mesh > Cube). Ensure you are in **Object Mode**.
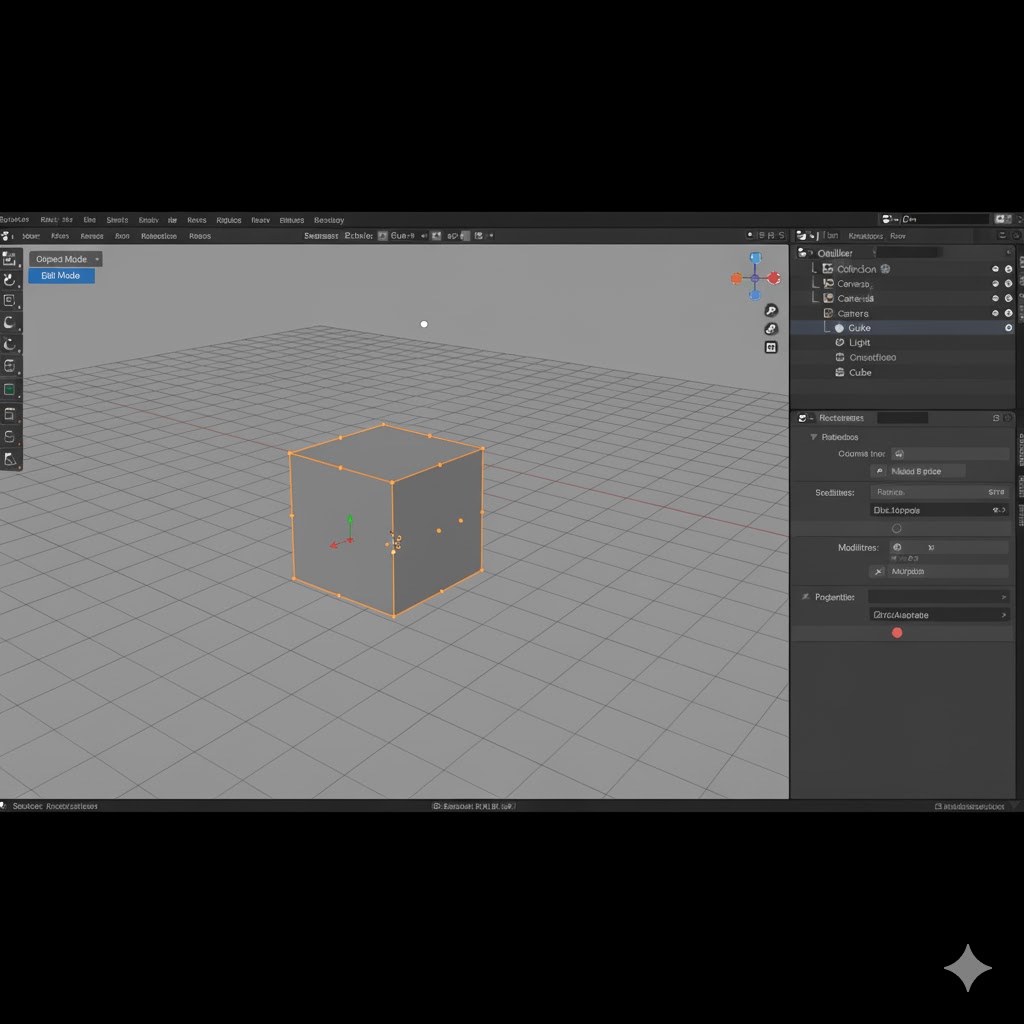
Step 2: Enter Edit Mode
With your mesh selected, switch from **Object Mode** to **Edit Mode**. You can do this by pressing **Tab** or by selecting "Edit Mode" from the dropdown menu in the top left of the 3D viewport. In Edit Mode, you'll see the vertices, edges, and faces of your mesh.
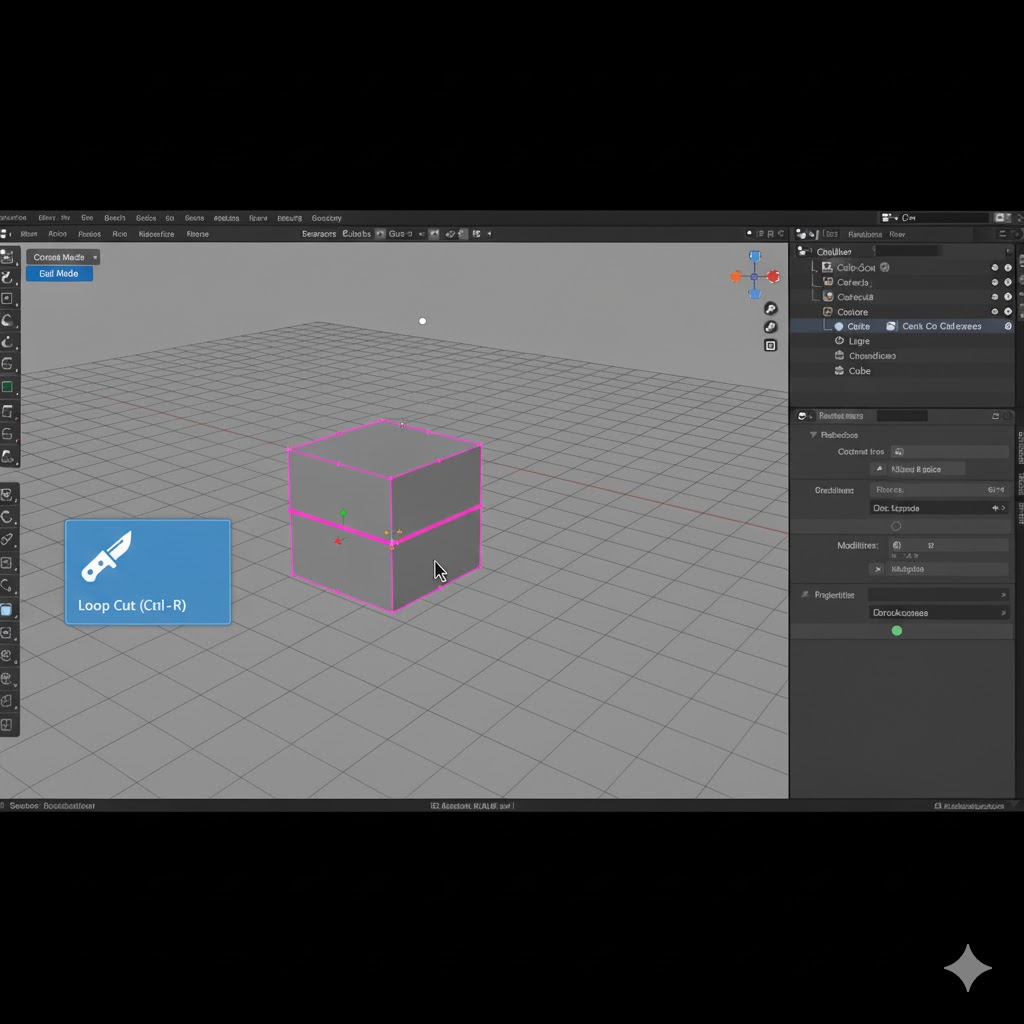
Step 3: Activate the Loop Cut and Slide Tool
The most common way is to press the keyboard shortcut: **Ctrl + R**. Alternatively, click the "Loop Cut" icon on the left-side toolbar (it looks like a knife cutting a loop).

Step 4: Place the Loop Cut
Move your mouse cursor over an edge. Once activated (Ctrl + R), a **pink or yellow preview line** will appear, indicating where the loop cut will be placed. **Left-Click once** to confirm the orientation and activate the slide function.
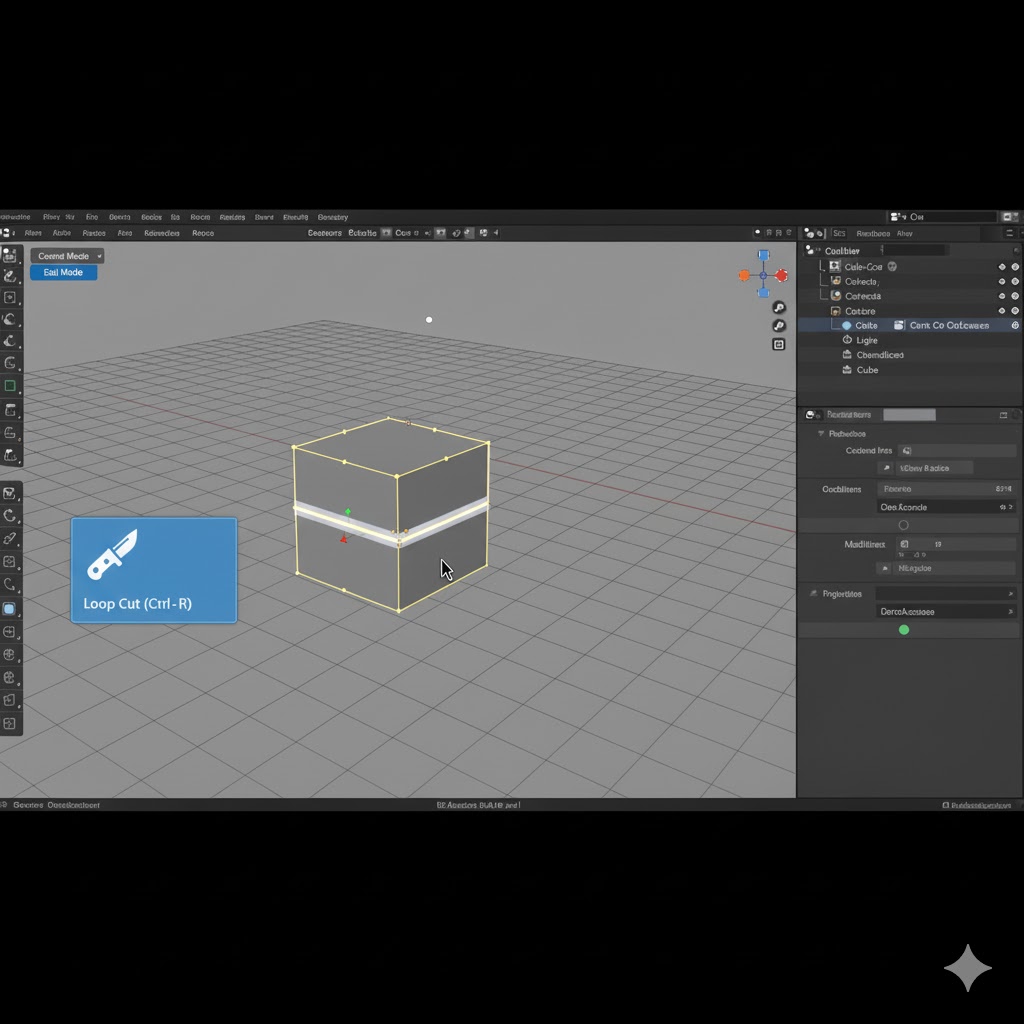
Step 5: Slide the Loop Cut
After your first left-click, the newly created loop will be highlighted. Move the loop by moving your mouse to your desired position (you can move it along the parallel edges of the cube). When you are satisfied with the position, **Left-Click a second time** to finalize the slide.
Step 6: Adjust Number of Cuts (Optional)
Immediately after performing a loop cut, a small **"Loop Cut and Slide" panel** will appear in the bottom-left corner of the 3D viewport. Here, you can:
- Number of Cuts: Increase this value (e.g., to 3 or 4) to add multiple evenly spaced loop cuts at once.
- Factor: Precisely control the slide position.
Step 7: Experiment and Practice!
The Loop Cut tool is fundamental. Try applying multiple loop cuts, combining them with other tools like **Extrude** (E), or using them to prepare your mesh for subdivision surfaces. Practice is key!
Troubleshooting Tips:
- **No pink/yellow line appears:** Make sure you are in **Edit Mode** and your face geometry is composed of **quads** (four-sided faces). Loop cuts cannot flow through triangles or N-gons.
- **Loop cut doesn't go all the way around:** This often indicates that your mesh has poles or non-quad faces, which break the flow of the loop.
Congratulations! You've successfully learned the basics of using the Loop Cut and Slide tool in Blender.